
![]()
![]()
ProPride 3P 1400 Hitch
(detail pictures and install)

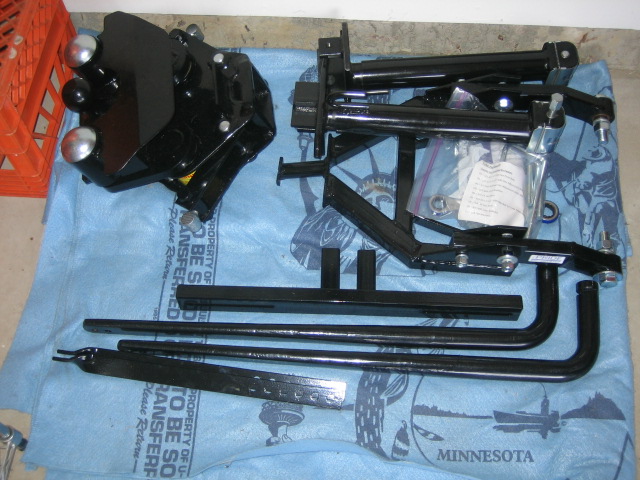
These are the parts of the hitch after unpacking them. Kudos to the ProPride shipping department as there was only a couple of minor scratches on one of the parts from shipping. I must admit... this monster looked extremely confusing at first... but I read through the instructions twice before beginning... here I go.
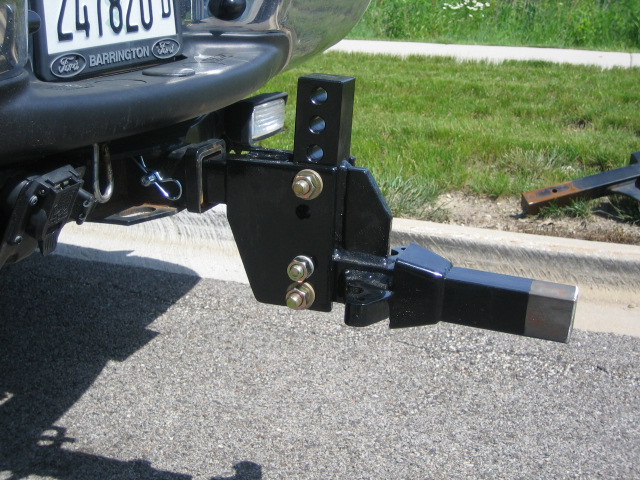
This is the stinger after assembled and put on my truck. The measurement instructions on how to determine stinger height, etc were fairly straight forward. So far... so good.
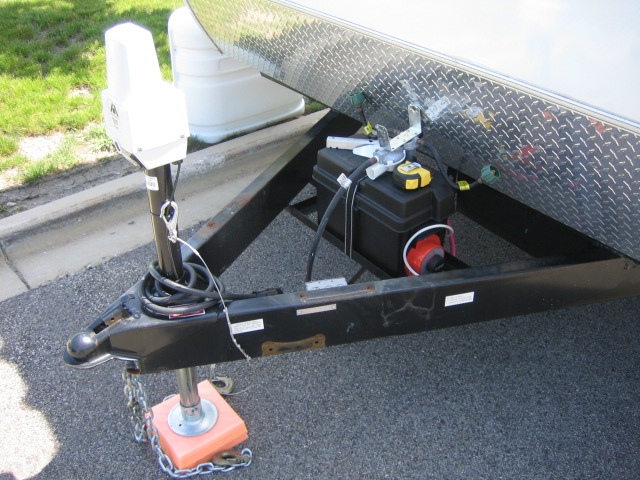
I removed the propane bottles and bottle tray, along with all existing pieces of my Reese Dual Cam HD hitch. It was now time to start installing the 3P...
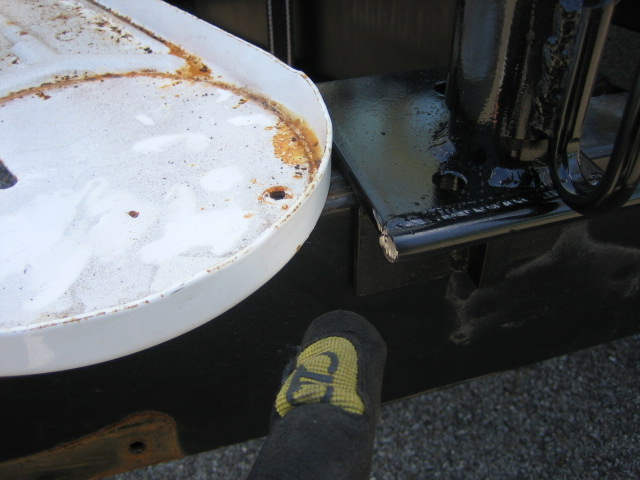
After measuring out the proper location for the WD jacks, it became clear some minor modifications would be needed. One of the guard rods would be in the way of the propane bottle tray. A quick call to ProPride tech support confirmed that this guard rod could be cut off without concern or loss of functionality.
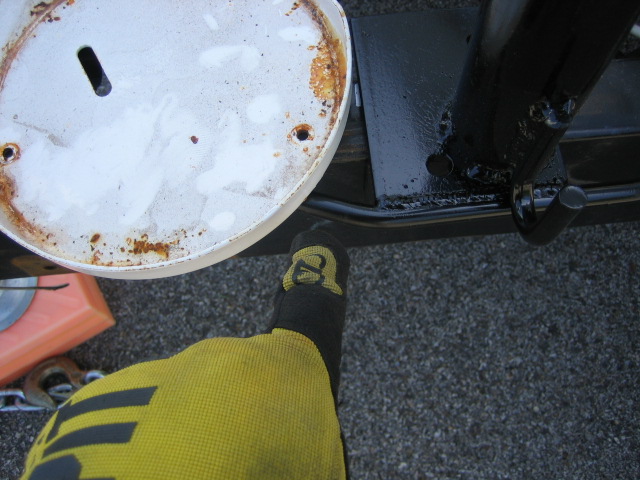
Here is the guard rod after I cut it off...
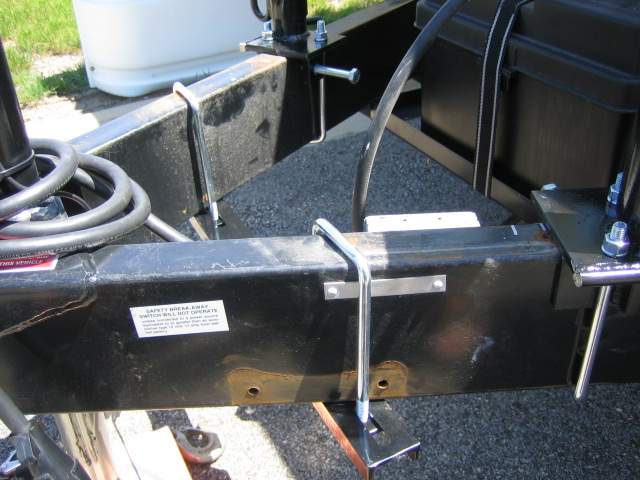
I next measured and installed bracket that would support the back of the 3P yolk. (I'll be doing some touch up to cover up the old hitch location later.) This part was easy to install as far as technical ability - but I would suggest having two people as it was difficult to hold the bracket, u-bolts, and thread the nuts on my own.
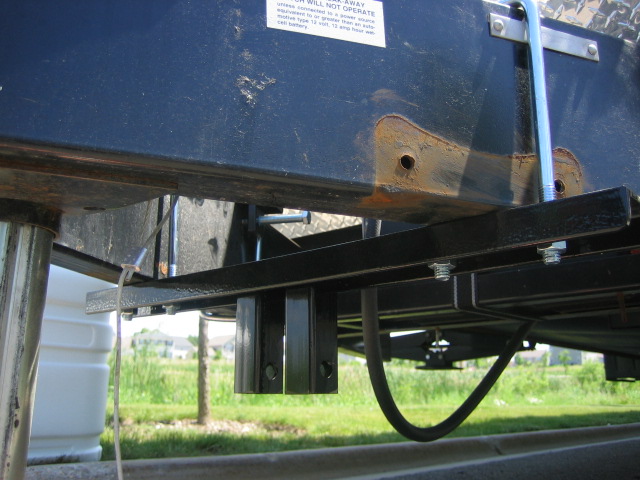
Here is an overhead view of the bracket as installed. You can also see that I installed the WD jacks. NOTE - the instructions provided say that if the yolk bracket interferes with the propane bottle tray to drill through the tray. I chose to install it as shown here and put spacers under the tray so the tray would clear the u-bolts.
In this photo I have attached the 3P hitch head to the stinger and am now attaching the trailer to the hitch head. After this installation, the hitch head will stay permanently attached to the trailer.
I'm making progress!! The hitch head is now installed, the weight distribution bars are installed, and the yolk is now installed. Installing the yolk was perhaps the hardest part of the install. Two people would have made the install easier - but getting the holes to line up on the hitch head did require some gentle "coaxing". Nothing major - nothing out of the ordinary - and once bolted on - it fits like a glove.
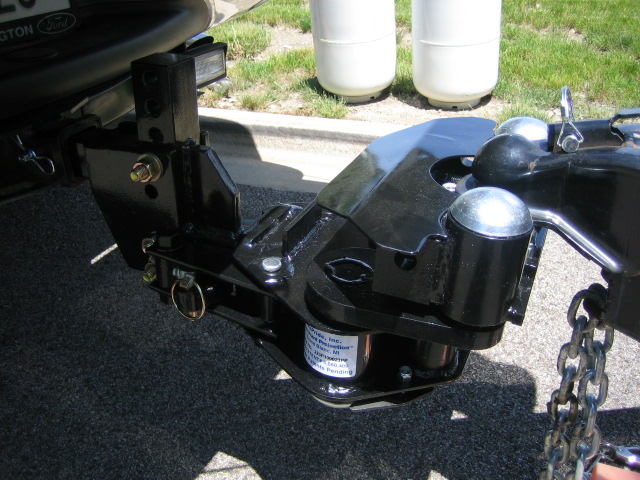
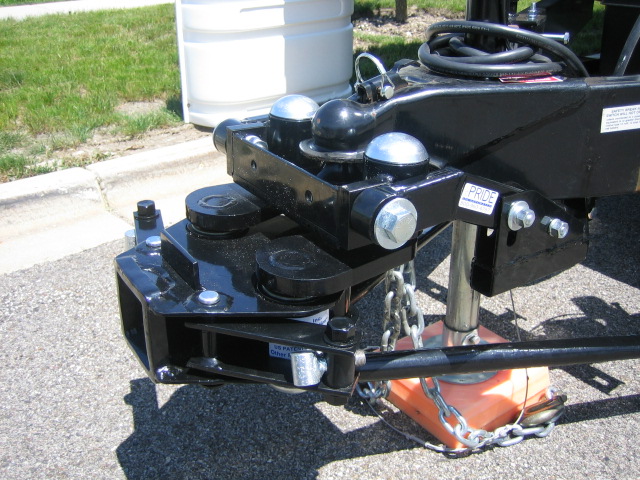
This is a detail shot of the main hitch head and yolk. Note, the hitch head cover was removed during the installation of the yolk.
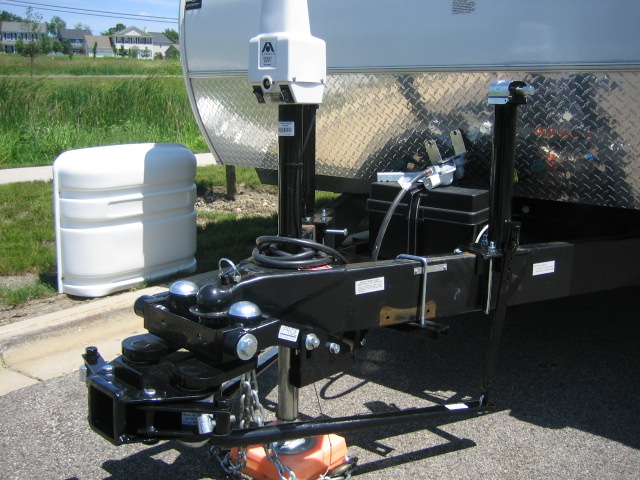
Here is an upper view of the installed hitch with the propane tanks back on. Clearance to the bolt at the top of the WD jacks is not an issue as I use a DeWalt 18v cordless drill to raise and lower the WD bars. NOTE - I did end up moving my propane tank tray forward about 1" to allow for the bottles to fit in the tray. This was very simple and done without any issue.
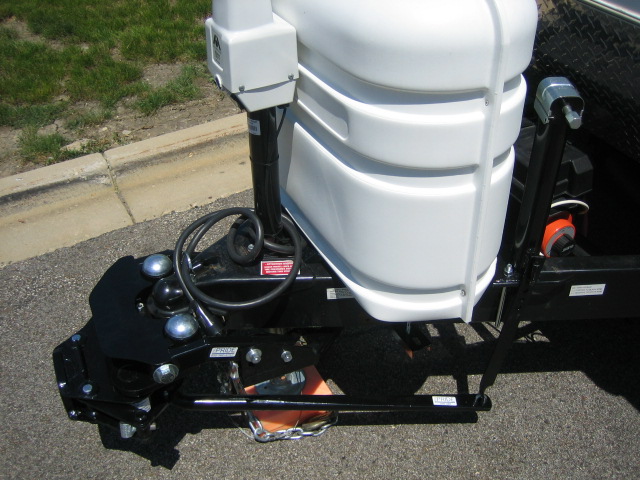
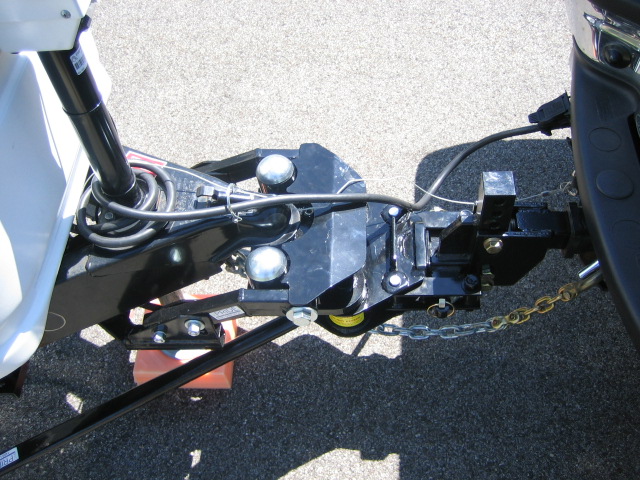
This is a forward view of the 3P hitch (with hitch cover re-installed).
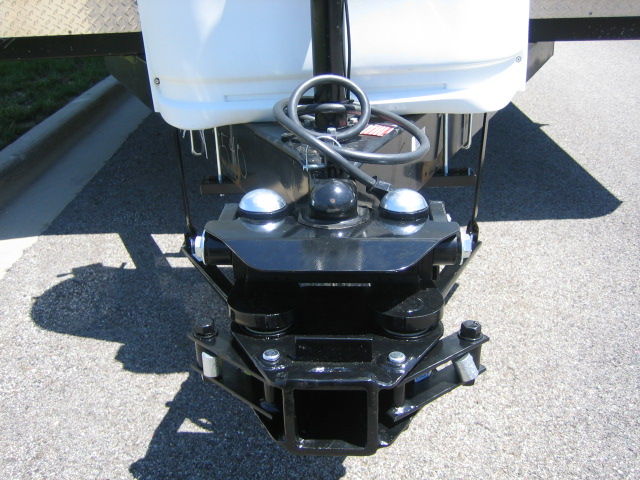
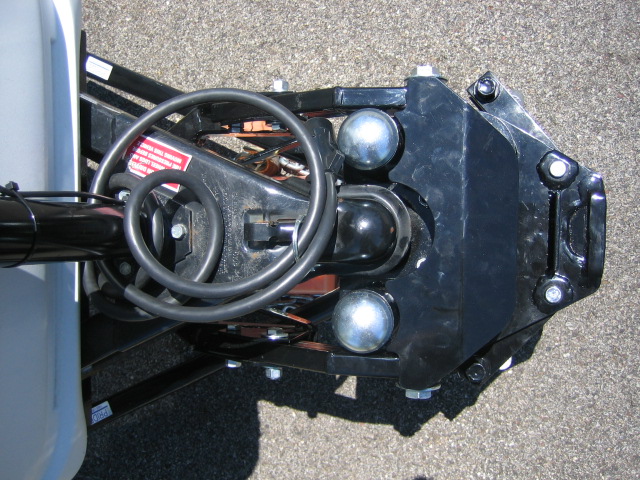
A direct overhead picture of the completed hitch...
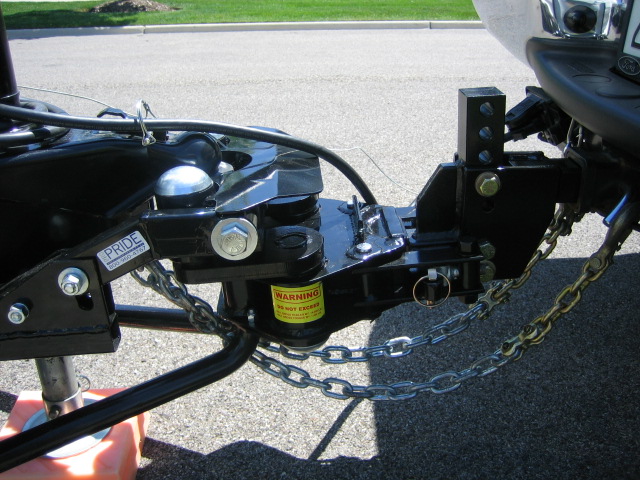
I am now testing the length of my electrical cable, emergency brake cable, and chains. This hitch did require that I lengthened my existing chains. My brake cable and electrical cable did not need to be lengthened.
INSTALLATION COMPLETE!!!!
Total time from start to finish... three hours... and six Pabst Blue Ribbons.
I will be adding to this page as I take additional trips with this hitch. The maiden voyage this weekend was amazing!! The trailer towed like a DREAM. I had to make some adjustments to my brake controller setting - but after that - problem free.
I am still fine tuning the WD bars set up. My first run as at 5 1/2" from frame to jack tube... but I had too much bounce on the tongue (thus too much tongue weight). My second try was 6 1/2" from frame to jack tube. The bounce is gone - but I feel almost too light on the tongue now. My next trip will be 6" frame to jack tube --- I expect that is the magic number.
I can't say enough good things about this hitch. I experienced too many white knuckled miles with my Reese Dual Cam HD hitch. It's not a bad hitch... but it certainly isn't the best. The ProPride 3P is absolutely phenomenal. I now pull a 35' travel trailer like it isn't even there... not even a hint of sway at passing trucks or in gusting winds.
In short... I am THRILLED!!! Thank you Sean... and thank you ProPride!!!!
*** UPDATE 04 MAY 09 ***
I have gotten (and seen) numerous questions about how this hitch works.
-
How hard is it to hitch and unhitch?
-
Can you hitch/unhitch at an angle?
-
How does the hitch turn?
-
Can you hitch/unhitch by yourself?
-
How "user friendly" is this style of hitch?
(and the list goes on...)
In response to this, I took it upon myself to create several short videos. Each video covers different aspects of the ProPride 3P hitch, provides insight as to how it operates, and provides some basic instruction on how to hitch/unhitch. I hope you find the videos helpful. Oh... and please excuse the "low budget" production quality...
![]()